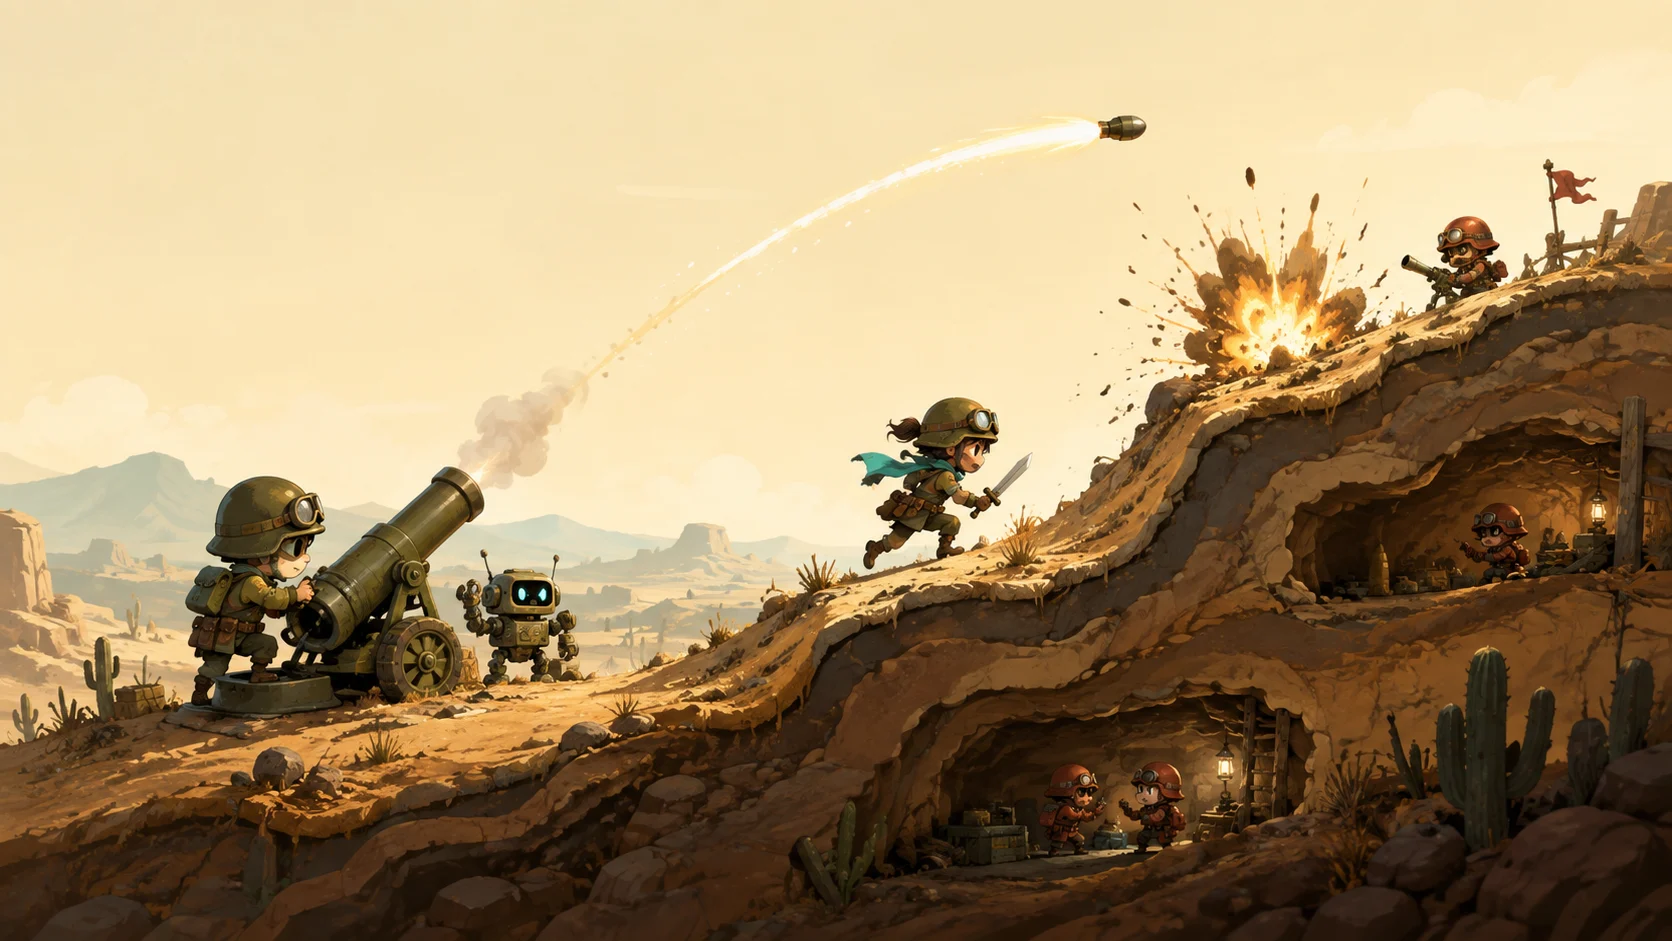
QUICKGAMESARENA / ARTILLERY
CANNONFRONT — Artillery front —How to play
Choose by goal
FIRST SHOT
First, one shot at the far slope.
- Start practice with "Artillery & Self-Defense"
A loadout that gives the Balance type a cannon, a Pistol, and a Dagger. Press Ready to sortie.
- Pick a weapon and secure your footing
Move left and right with A / D. Press G to jump once. Once you start moving, your weapon is locked in for that turn.
- Set your angle and power
Click or drag on the battlefield to aim, then press the big "Hold to charge" button. Watch the gauge and release at the power you want to fire. Space does the same. Release outside the button or press Esc to cancel.
- Watch where it lands and plan your next move
Check the wind, enemy positions, and the carved-up terrain. Bring the whole enemy team's HP to 0 or sink them in the water to win.
A QUIET POINT OF REFERENCE
Use the faint marker as your aiming guide.
The faint ◎ shown when you ready a cannon is a guide to where a shot would hit the ground with no wind at 100% power. Based on your current angle and shell type, it marks where the center shot first hits the ground. Wind, contact with troopers, and bounces change where shots actually land.
It doesn't account for terrain carved by follow-up shots in a burst, or where a shell lands after bouncing. When a shot is headed for the water or out of bounds, it's marked differently from the ground ◎. It works as a reference for normal shots, special shots, and ultimates alike. Practice mode also lets you check the trajectory with the actual wind and power applied.
Controls at a glance
| Action | Keyboard and mouse | On-screen buttons |
|---|---|---|
| Select weapon | 1〜4 | Weapon cards |
| Move left/right | A / D | Hold ← / → |
| Dash | Shift + A / D before moving | Select "Dash" and move |
| Jump | G | Jump |
| Aim | Click or drag on the battlefield / W or S / Shift for larger steps | Enter an angle / −5°, +5° |
| Fire / throw | Hold and release Space / Guns fire with Space | Press and release "Hold to charge" / Adjust with the bar and fire |
| Melee attack | Face left or right and press Space | Choose left or right, then "Slash" |
Just clicking the battlefield won't fire. Guns fire at a fixed power, and swords attack in the direction you choose. If your action time runs out, you pass, and any power you were charging is canceled.
Using the right gear
4 cannon types
Even their normal shots differ: the Field fires one shell with a wide blast, the Breach a focused 3-shot burst, the Split a 3-shell fan, and the Rebound a shell that bounces once. Special shots and ultimates boost each one's specialty.
Guns and swords
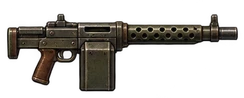
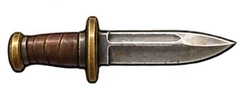
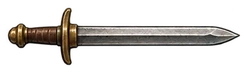
The Pistol holds 12 rounds and the Machine Gun 36; a normal sweep fires 6 at a time. The Dagger is light, while the Longsword excels at reach and knockback. Even after your gun runs out of ammo, you can fight on with a cannon or sword.
Throwables and support gear
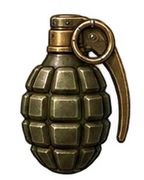
Grenades bounce and explode after 1.6 seconds. Depending on your role, you can carry gear for repairs, a barrier, relocation, or double cannon fire.
An ultimate needs a gauge of 100, unlocks from your 3rd turn, and can be used once per round. After a big move, your next turn comes later. Friendly fire is on by default, so check your line of fire.
HEAR THE BATTLEFIELD
Hear how far away the shelling is.
Nearby shelling sounds powerful, while distant explosions sound low and muffled. Left and right are based on your own trooper's position. Use "Audio" at the top of the screen to compare shelling that's near, to the left, to the right, and far away.
BGM changes between the War Room, battle, and results, and you can choose the battle track. Master, sound effect, BGM, and ambient volumes can each be adjusted and saved. The first time, sound starts when you interact with the screen, and your previous mute setting carries over. If "Sound OFF" is shown, press the sound button to start audio.
CHOOSE HOW THE BATTLE ENDS
Take careful aim, or race the rising water?
Rising water off
The sea level doesn't rise, even in the late game. Dig into the terrain, break down footing, and fight it out with shelling and positioning to the very end. Rising water is off by default. The setting you choose carries over to next time.
Rising water on
The original endgame rule. As the match goes on, the sea level rises and the lowest footing becomes unusable first. The call to retreat to high ground, or to cut off your enemy's escape route, decides the battle.
You can pick the endgame rule before setting up an AI match, practice, or War Room. The room host can also change it in sortie prep with "Change endgame rule" before round 1 starts. Changing it resets everyone's Ready status, so press Ready again.
Even with rising water off, falling into the sea that's there from the start knocks you out, regardless of HP. Be careful not to carve away too much of the ground under your feet.
Time-outs are decided by remaining HP percentage.
The standard time limit is 20 minutes. Each trooper's remaining HP percentage is averaged across the whole team, with knocked-out troopers counted as 0, and the side with the higher average wins. Ties are draws. Matches with and without rising water are recorded in separate ratings.
Read the terrain. Pick your battlefield.
A new battlefield calls for a new plan.
Take the high ground. Pull back from the hollow. Drop the bridge. Cut off lines of fire with a ridge. Climb atop giant mushrooms. Choose the upper or lower passage underground. Pick your battlefield before you sortie from 6 maps with different terrain.
 Wide / High-ground contest, long-range shelling
Sandstone Ridge
Take the central peak, or bring it down from the slopes?Advance up gentle slopes to the central high ground. Lob shells over the ridge, and carve away the ground under your enemy with digging shells. The rock wall at your back keeps you from falling when you retreat. A good pick for your first sortie, too.
 Compact / Close combat, push and pull
Tidewait Basin
The closer you get, the deadlier it is. Knowing when to pull back decides the fight.A marshy basin where the two shores sit close together. Drop from the high ground into the hollow, and you're within gun and sword range. Decide whether to attack using the height difference or fall back to the rock wall behind you. In "Rising water on" matches, the center floods first, so your escape route matters too.
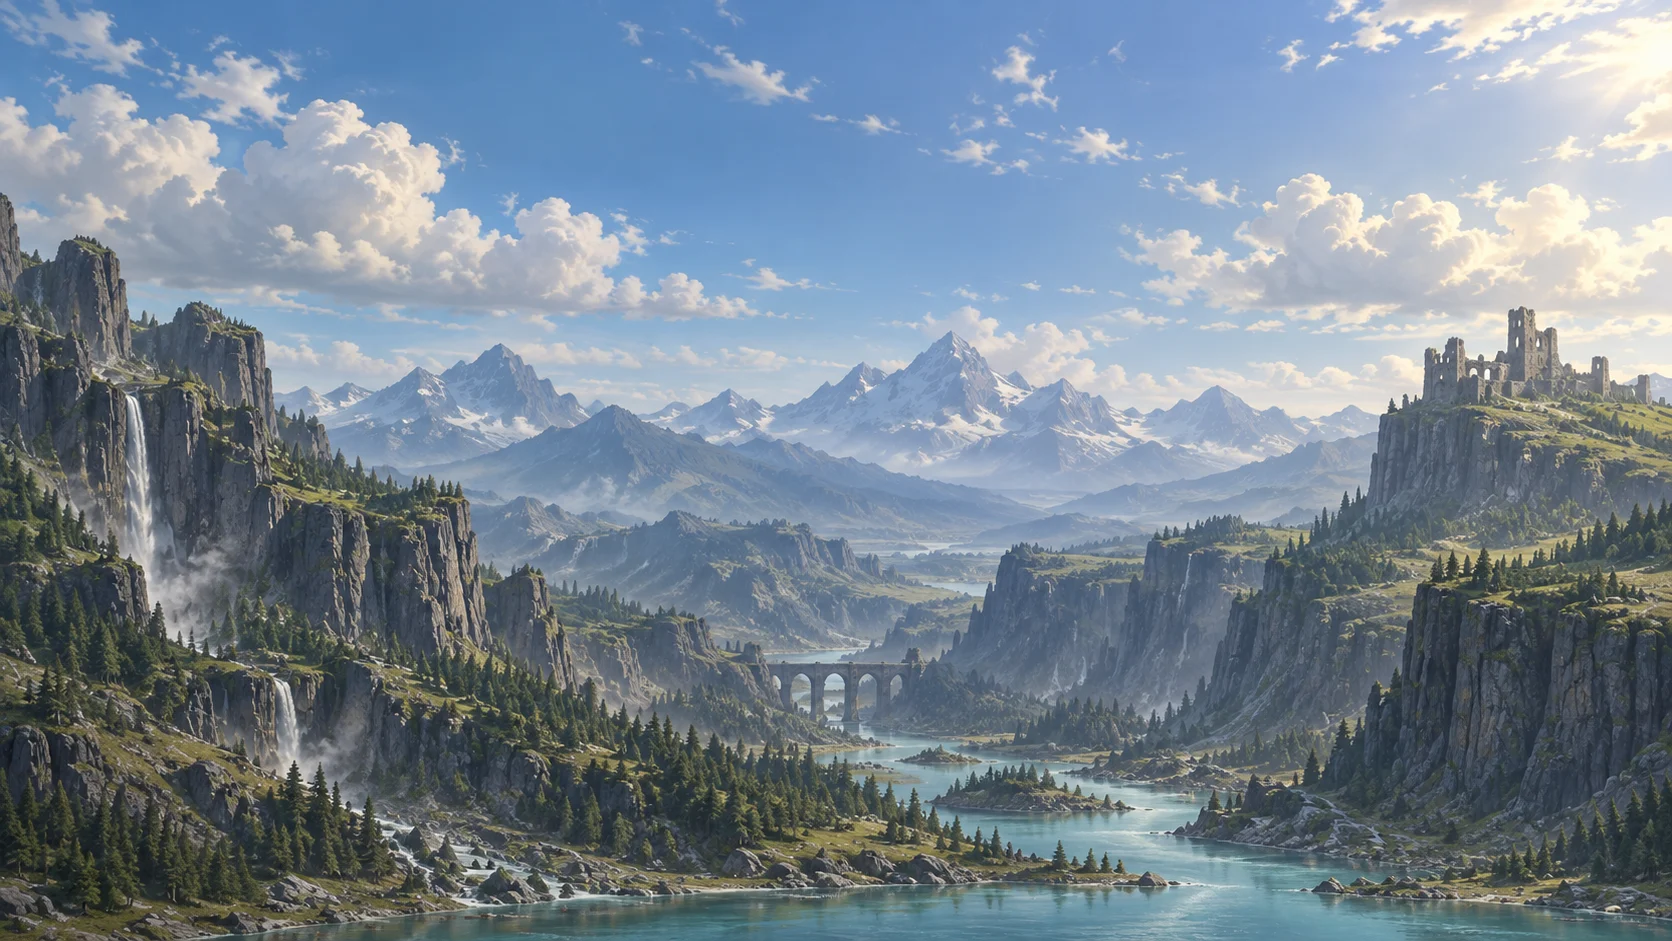 Medium / Bridge demolition, two-level fights
Blackrock Bridge
Target the enemy, or the bridge holding them up?A mid-sized battlefield with footing on two levels. Carve away the thin bridge or its piers, and the unsupported footing collapses. The lower level is where close-range weapons shine. This battlefield also has a cliff at the rear. Watch your footing and your escape route so you don't fall into the sea when the bridge or ground gets carved away. The Relocation Beacon is a big help, too.
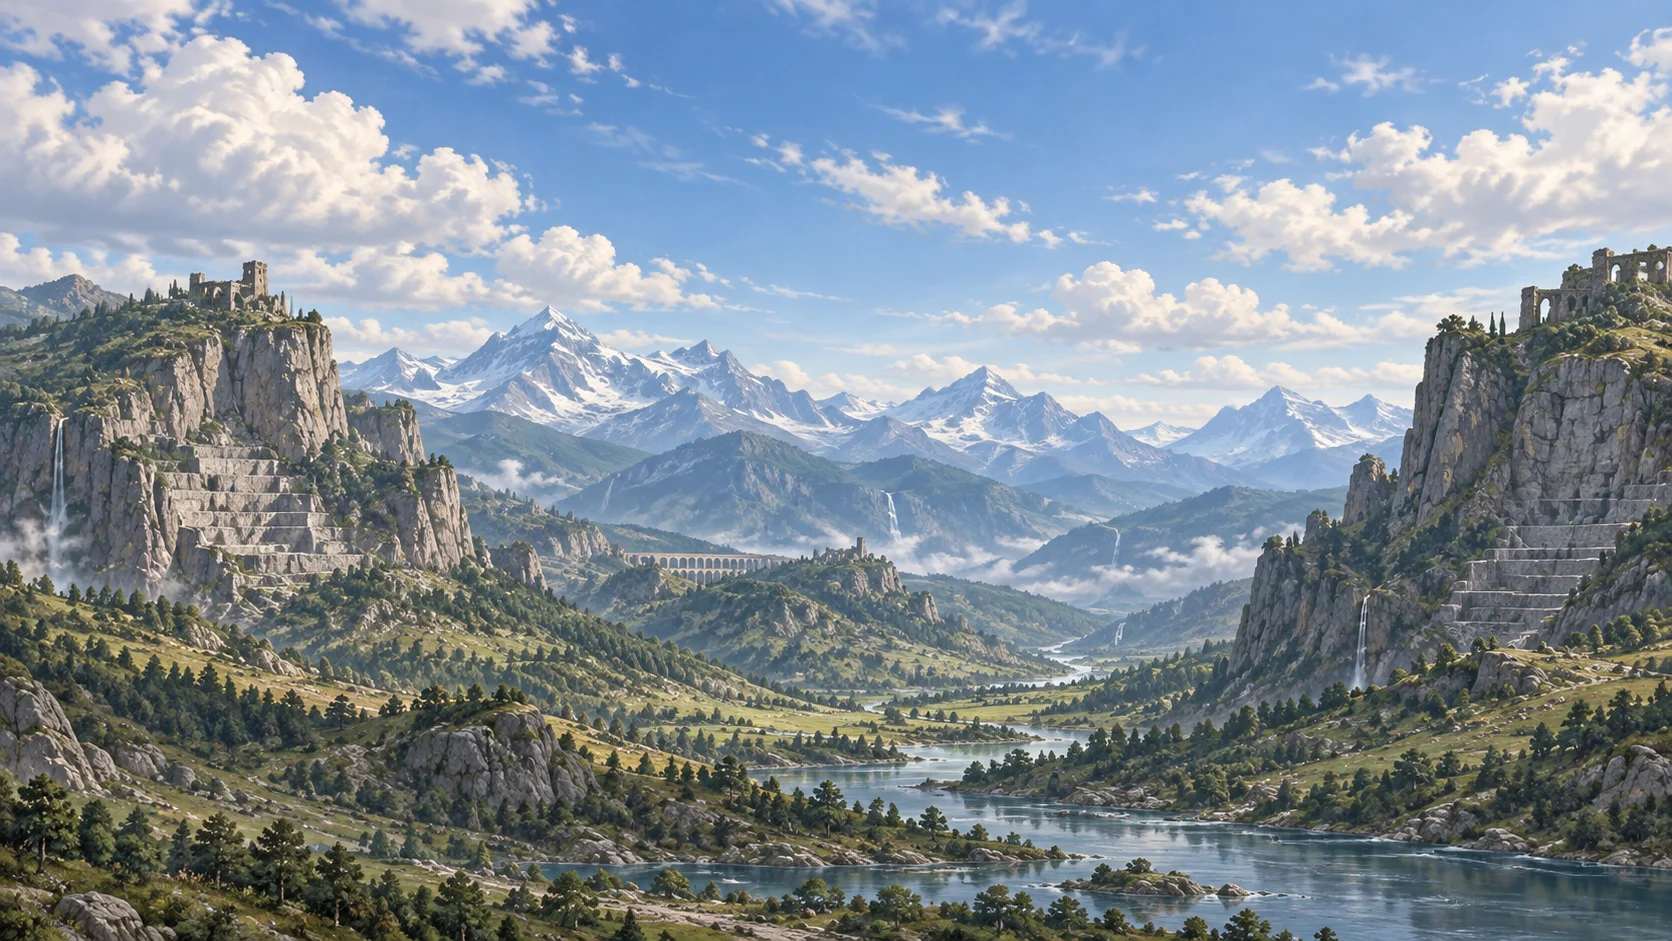 Fairly wide / Shelling, ridge cover
Twin Peaks Quarry
Use the ridges as shields, and pick your moment to push into the valley.A battlefield with plenty of land, where two high points block guns' lines of fire. Set up on your own ridge and shell from there, or drop into the valley to attack with grenades and swords. Work out the best order to move in. The rear is a dead end walled by rock, but watch out for carved-away footing and falling into the sea.
 Mushroom platforms / Elevation, breaking footing
Giant Mushroom Forest
Claim the caps, or knock out the footing from below?A forest where you can even climb on top of the giant mushrooms. Use footing at different heights to open lines of fire, and shell away the terrain holding up your enemies. As you advance, check where you'd land if the ground is knocked out from under you.
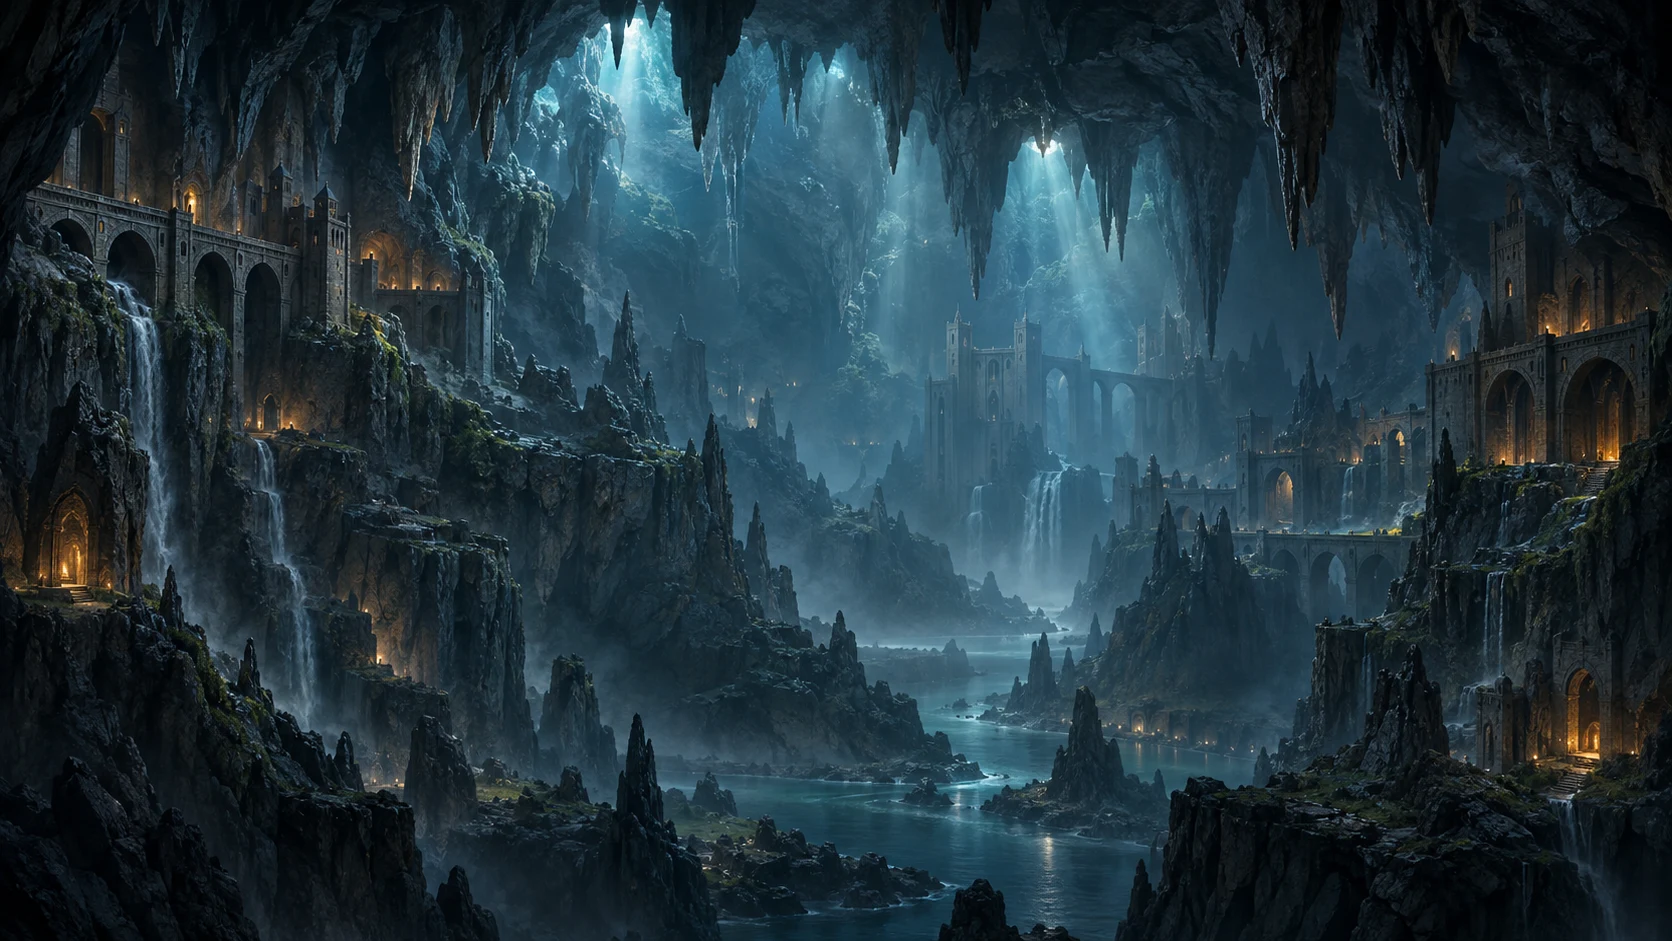 Upper and lower passages / Cover, close combat
Underground Cave Fortress
Break through up top, or close in through the lower passage?An underground battlefield surrounded by rock. Choose the upper or lower passage, and check which lines of fire the ceiling and walls block as you advance. Know when to close in with guns and swords and when to shell the footing out from under your enemies.
You choose the map when setting up an AI match, practice, or War Room. Players and spectators all see the same battlefield chosen by the room host. Rising water is off by default. If you play with rising water on, check your escape route to high ground before you sortie.
MEET YOUR SQUAD
On this front, together.
The same 4 types and 16 looks as TWINFRONT. Entrust your plan to your favorite trooper. Every type shares the same 40 points, allocated to the abilities it excels at.
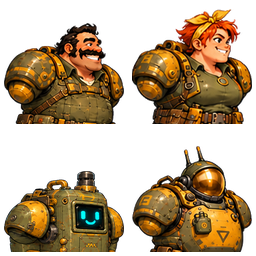
Power
Backs up your team's attack with high health and load capacity. Look for the thick shoulder guards and big backpack.
Looks don't affect abilities. Sortie in whatever look you like.
Pick this trooper for sortie prep →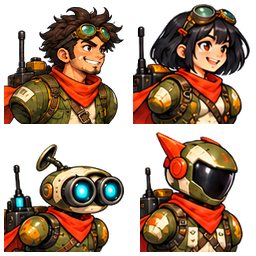
Balance
A dependable partner that handles both shelling and close combat. A good pick for your first sortie, too. Look for the red scarf and comms gear.
Looks don't affect abilities. Sortie in whatever look you like.
Pick this trooper for sortie prep →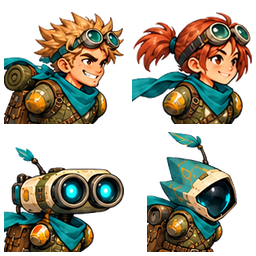
Speed
Travels light to reach the high ground one step ahead. Health is modest. Look for the light-blue scarf and goggles.
Looks don't affect abilities. Sortie in whatever look you like.
Pick this trooper for sortie prep →
Custom
Distribute 40 points across 8 abilities to build a role all your own. Look for the purple work vest and tools.
Looks don't affect abilities. Sortie in whatever look you like.
Pick this trooper for sortie prep →CHOOSE YOUR IMPACT
Four cannons, four ways to fire.
A wide blast, a focused burst, a fanning spread, a bounce off the ground. Even with normal shots, each one fires and carves the terrain differently. Dig deep into the footing, crumble it wide, or send shells over the slope? Choose the one cannon that fits your plan.
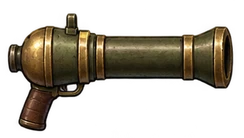 6 W
6 W
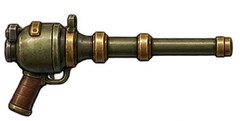
Field Cannon
1 shot, wide blastCatches nearby enemies all at once with a big blast and knockback.
Special: heavy shell with an even wider blast
 7 W
7 W
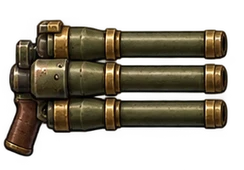
Breach Cannon
3-shot burst, pinpoint breakthroughFires 3 small-blast shots in a row at the same spot. Each shell follows into the hole the last one opened, concentrating on carving through the footing.
Special: triple drill shells that bore through the ground
 8 W
8 W
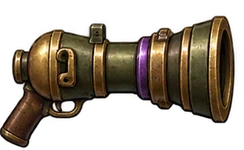
Split Cannon
3-shell spread, wide coverageFires 3 shells at different angles at once. Covers spread-out enemies and long, narrow footing.
Special: 5-shell spread
 7 W
7 W
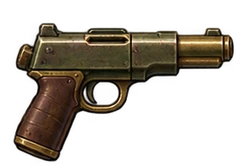
Rebound Cannon
1 bounce, uses terrainBounces once off the ground, then explodes. A terrain-reading cannon that uses slopes to send shells behind ridges.
Special: shell that bounces twice
 2 W
2 W
Pistol
Light to carry. A single shot straight down the line of fire.
 8 W
8 W
Machine Gun
Controls the range with 6-round bursts.
 1 W
1 W
Dagger
Light and quick, it cuts in with a flurry of strikes.
 3 W
3 W
Longsword
Long reach that pushes enemies back.
 1 W
1 W
Grenade
ThrownExplodes 1.6 seconds after it's thrown. Arc it over cover to hit what's behind.
 3 W
3 W
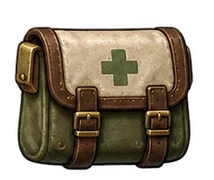
Repair Kit
Support gearRestores 200 HP so you're ready for the next exchange.
 3 W
3 W
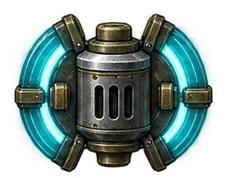
Barrier
Support gearBlocks 200 damage until your next turn.
 4 W
4 W
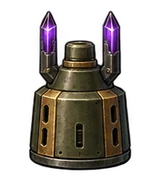
Relocation Beacon
Support gearRelocates you to footing within 240 to change your position.
 5 W
5 W
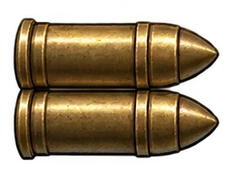
Double-Fire Unit
Support gearFires 2 sets automatically from a single power input. Each shot is slightly weaker.
Special shots and ultimates make each cannon's specialty even stronger. The Double-Fire Unit support gear fires a normal shot twice, so the Breach fires two 3-shot bursts and the Split fires two 3-shell spreads.
Carry up to one cannon, one gun, and one sword, including at least one cannon or sword. The heavier your load, the shorter your movement range.
READY FOR YOUR NEXT SHOT?